
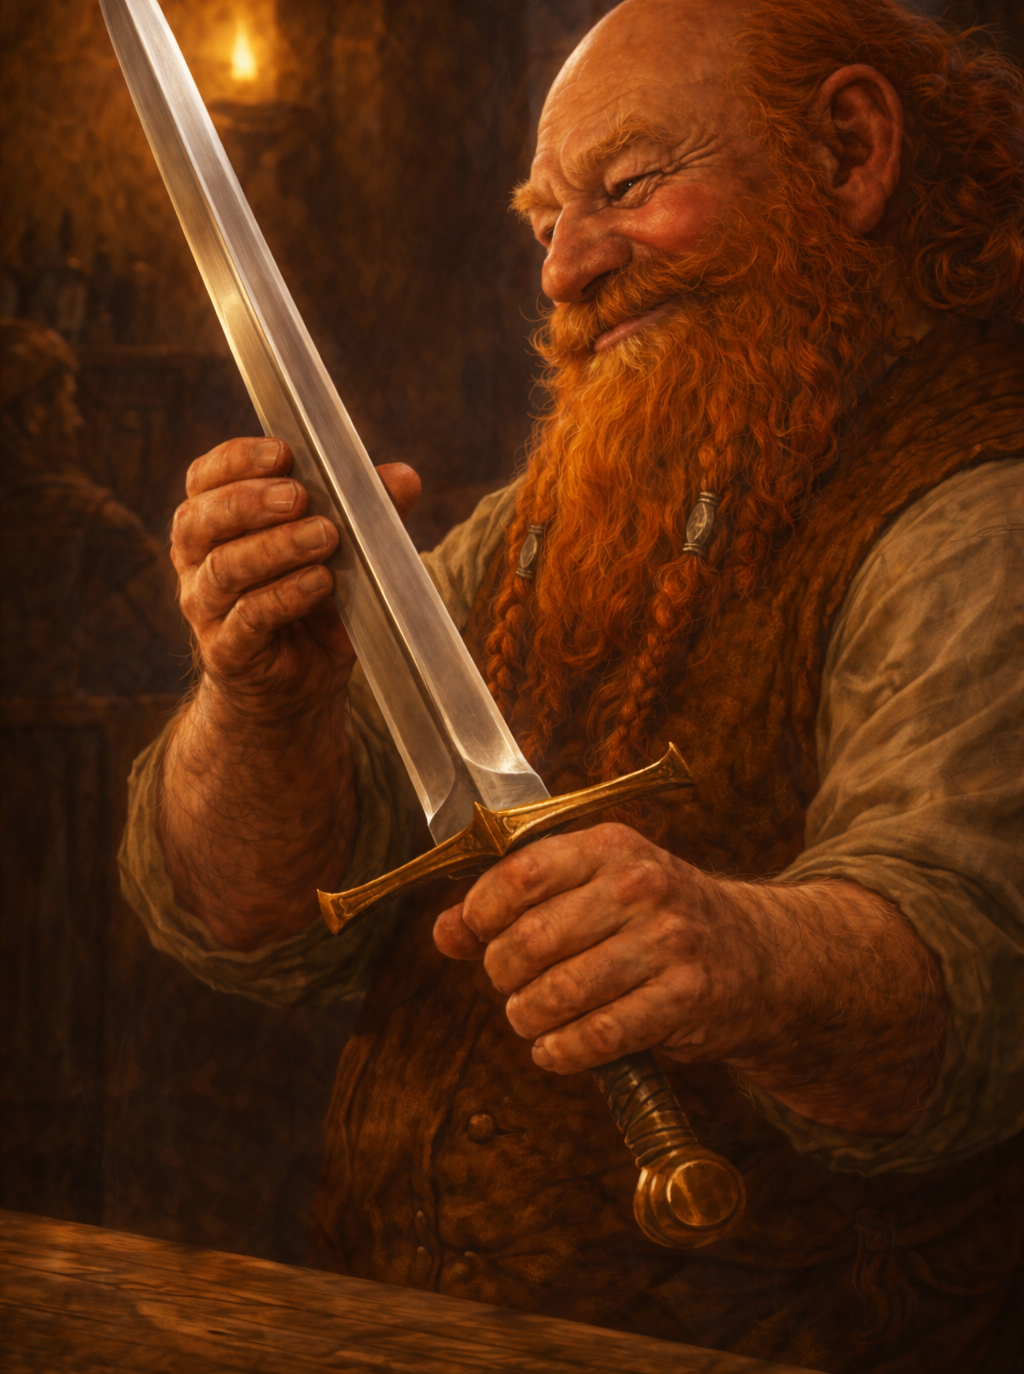
A Complete Guide to Longsword Combat in D&D 5e and Pathfinder 2e
Some players pick a longsword because it looks right.
Others pick it because it feels familiar.
This guide exists for the players and GMs who want to understand why the longsword works, how it rewards good judgment, and how it expresses skill inside the rules of D&D 5e and Pathfinder 2e without inventing new mechanics.
The Mike’s Tavern Definitive Longsword Guide for D&D 5e and Pathfinder 2e is a six part series designed to teach how to think during combat, how to fight as a group, and how to survive encounters that do not go according to plan.
This is not a list of special moves.
This is not historical fencing.
This is a practical way of approaching martial combat that stays fully inside the rules while making swordplay feel deliberate and intelligent.
If you are new to the Tavern and want to understand the philosophy behind these guides, you can start by reading About Mike’s Tavern.
How This Guide Is Meant to Be Read
Each part of this guide builds on the last. You can read them individually, but the full value comes from following the progression from decision making, to positioning, to teamwork, to endurance, and finally to restraint.
Below is the complete guide, laid out in order.

Part One: Choosing the Blade and Learning to Think With It
Part One lays the foundation for the entire series.
It explains why the longsword is a deliberate choice rather than a default, what the weapon represents inside the rules, and why action economy matters more than raw damage. This part reframes martial combat as a series of decisions rather than a race to empty hit points.
Read Part One: Choosing the Blade and Learning to Think With It.
Part Two: Space, Control, and Skill Expressed Through Action
Part Two shifts the focus from the weapon to the battlefield.
This section explores positioning, movement, pressure, and how skilled fighters control space using only the actions already available in D&D 5e and Pathfinder 2e. It shows how restraint and timing often matter more than aggression.
Read Part Two: Space, Control, and Skill Expressed Through Action.
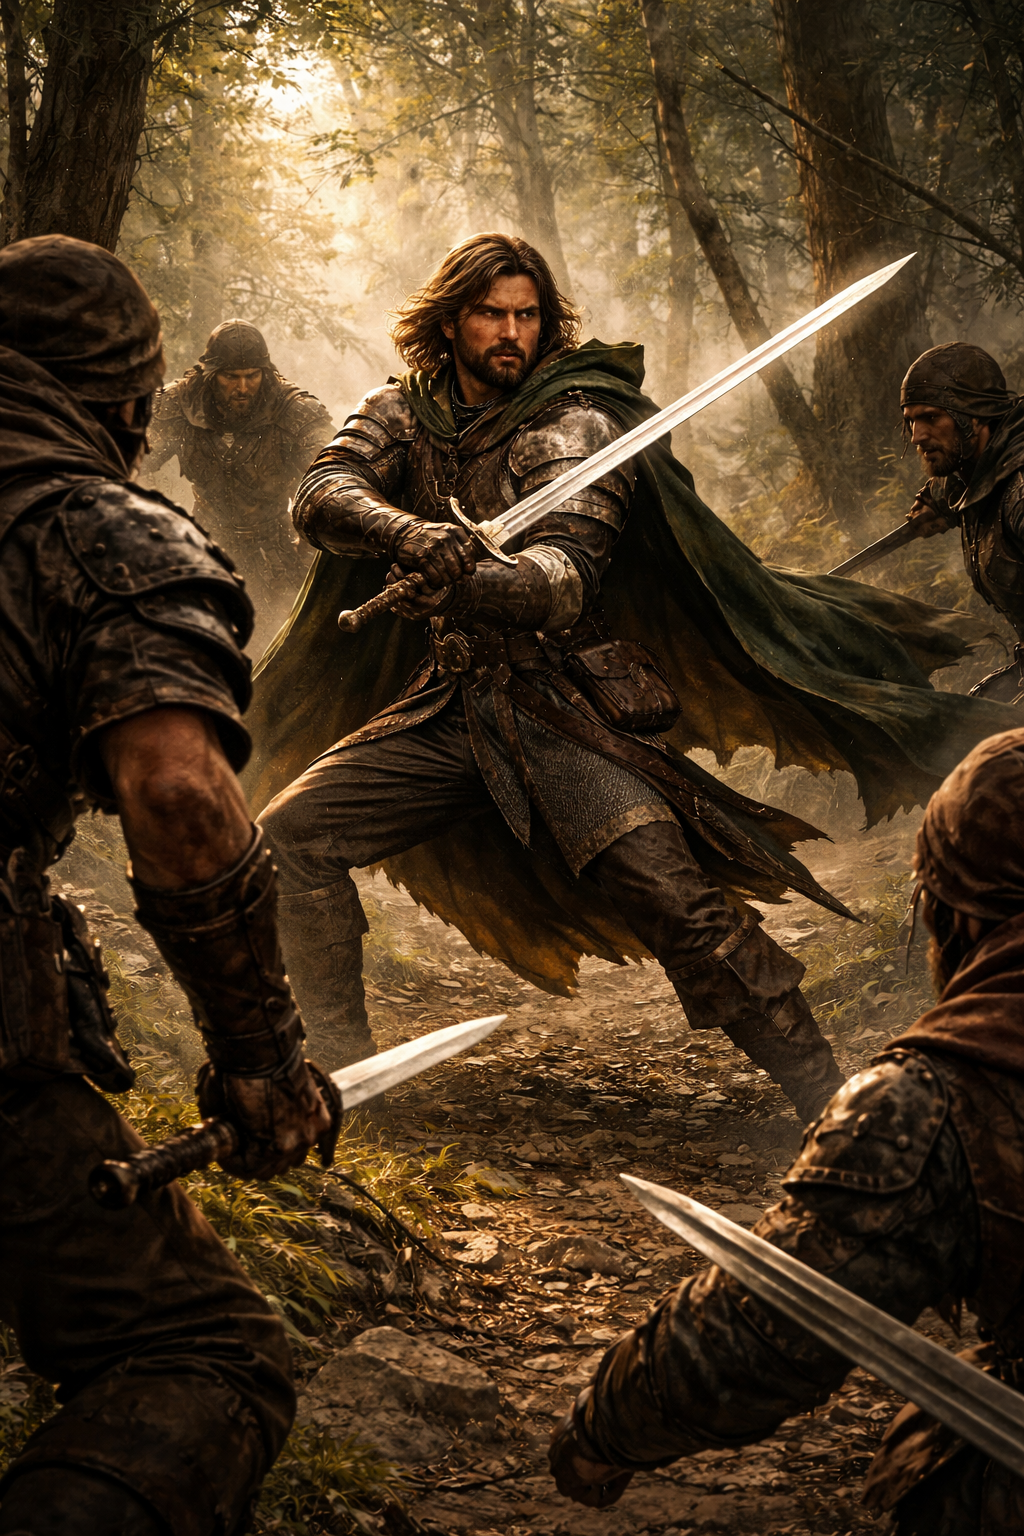
Part Three: Fighting With Allies, Flanking, and Coordinated Pressure
Part Three makes teamwork explicit.
This part focuses on coordinated movement, flanking with intent, and using allies as extensions of your reach and control. It teaches how parties succeed by creating pressure together rather than chasing individual damage.
Read Part Three: Fighting With Allies, Flanking, and Coordinated Pressure.
Part Four: Multiple Enemies, Chaos, and Staying Alive When the Fight Goes Bad
Part Four addresses the most dangerous encounters.
This section covers fighting outnumbered, losing formation, reacting to chaos, and surviving when plans fail. It teaches why movement, awareness, and knowing when to disengage are essential skills for longsword fighters.
Read Part Four: Multiple Enemies, Chaos, and Staying Alive When the Fight Goes Bad.

Part Five: Fatigue, Fear, and Fighting Well When You Are No Longer Sharp
Part Five focuses on endurance and human limits.
This section explores exhaustion, stress, mistakes, and declining performance. It shows how good fighters adapt when they are tired, injured, or overwhelmed, and how good tables describe these moments without breaking immersion.
Read Part Five: Fatigue, Fear, and Fighting Well When You Are No Longer Sharp.
Part Six: Mastery, Restraint, and Knowing When the Sword Has Already Done Its Job
Part Six is the capstone of the series.
This final part ties everything together by focusing on restraint, judgment, and mastery. It shows how experienced fighters control fights without chasing damage, and how GMs can make skill visible without handing out bonuses.
Read Part Six: Mastery, Restraint, and Knowing When the Sword Has Already Done Its Job.
Using This Guide at Your Table
You do not need to memorize this series. You do not need to quote it mid session.
Read it, absorb it, and let it change how you think about movement, timing, and cooperation. The longsword is not about doing more damage. It is about making better decisions under pressure.
If questions come up as you read or share this guide, you can find common answers in the FAQ. If you want to reach out directly, the Contact page is always open.
Finish your drink, straighten your scabbard, and take what you have learned back to the table.